
This post is sponsored by Allway Tools. All view expressed are my own!
Why Do You Need a Barrier?
Concrete holds a lot of moisture. Like, A LOT A LOT.
Wood soaks up moisture, it’s very attracted to it and will find it if it’s there!
The problem is, when wood gets wet and is in an enclosed space where it can’t properly dry, it’s going to start to rot and grow mold. I don’t know about you, but rotting wood isn’t something I want hiding behind my walls!
If there is a simple barrier between the two materials it will eliminate this risk and keep you safe. And it’s so easy to install!
What You Need
Here’s a simple list of supplies and tools to get the job done. It’s easiest to do before your wood framing is installed, but if you’re like me and you forgot, you can still get it in there!
- Roll of Moisture/Vapor Barrier (the size of the roll and the amount of rolls you need will depend on the size of your framing project)
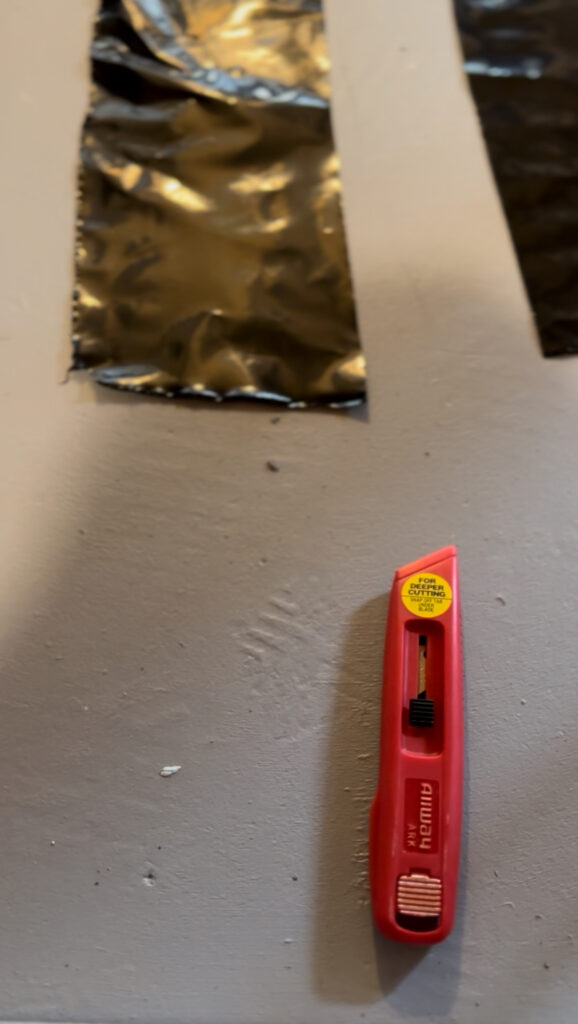
- Box Cutter / Utility Knife (I love this one, it’s really sharp and does the job perfectly, all for under $5!)
- Stapler
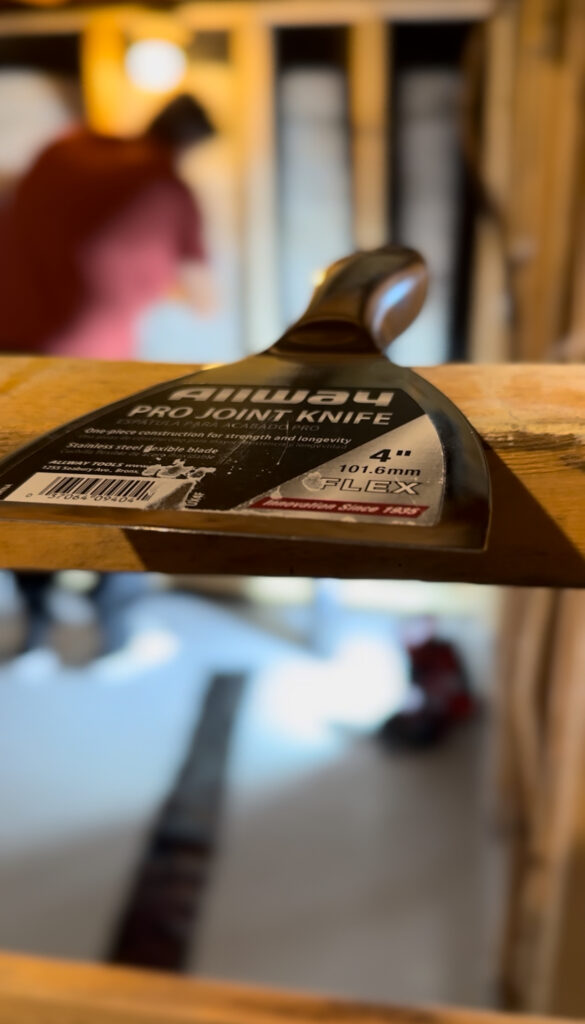
- Flat edge tool, like this drywall knife
How To Install the Vapour Barrier
Step 1: Measure the length you need, and cut it off the roll with your utility knife
Step 2: Cut the length in half so there’s not excess behind your drywall
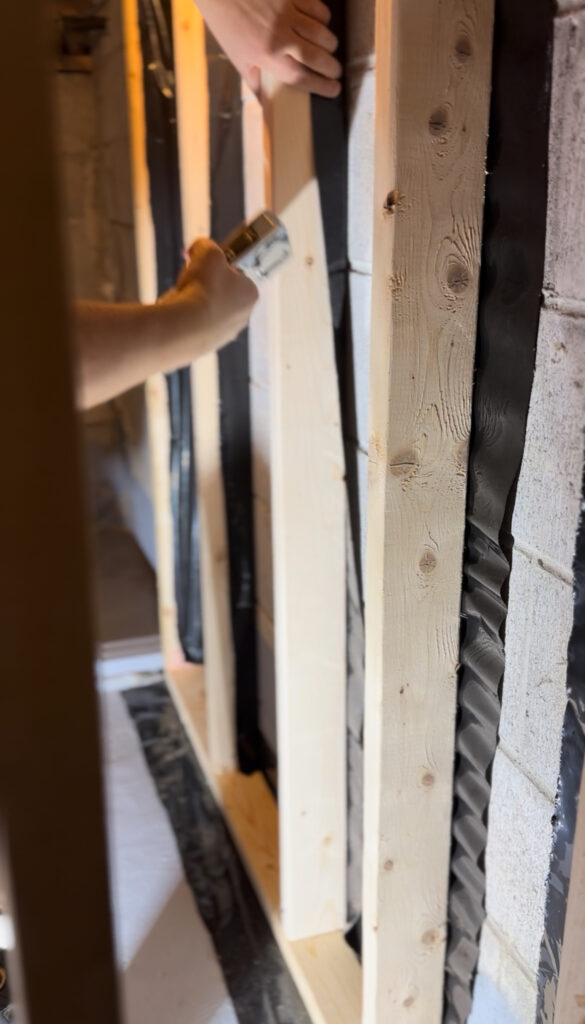
Step 3: Wrap the vapour barrier around the stud, in between the wood and concrete
Step 3b: If there’s a tight spot, use your flat edge to gently fit it in
Step 4: Staple the vapour barrier in place on the side of your stud. DO NOT staple on the front of your stud or it will get in the way of nice, flat drywall
What’s Next?
Once your vapour barrier is in, you can move on to the next steps, including securing your framing in place, adding electrical, insulation and finally, drywall!
Follow along on Instagram to see this whole basement renovation through each step. I’m sharing the whole journey, the good, the bad, and the lessons along the way.
Until next time,
Oli