
Privacy is the most important factor to consider when designing your outdoor space at home. I mean, who wants to go out into their backyard to unwind and have to engage in small talk or glaring eyes from nosey neighbours? Not me!
For me, my backyard is an extension of my home. When I invite you in you will be hosted like never before, but when I am alone I like to be just that…alone! I don’t want to feel obligated to put on a bra to go into my backyard, or force my toddler to keep his diaper on (if you have or have had toddlers, you know the phase I’m talking about!)
When we designed our current backyard (that we’ll be moving out of in 2 weeks *cue frown*) we knew that we were going to go with a deck instead of interlocking patio stones. but this meant that we would have a clear view over the fence at our neighbours, and them at us. So we decided to add privacy panels.
Being a new build house, we were lacking in greenery in the backyard, which is why we decided to make greenery privacy panels. I had seen them around in so many places, but when I searched for some to use here I quickly realized that they were out of our budget. At $200+ each and needing 5, we were looking at adding an extra $1000+ to our backyard renovation budget.
Naturally I took to the drawing board and figured out a way to build our own for just over $50 each. That’s a $750+ savings for anyone keeping track!

Enough jibber jabber. Let’s get to the instructions:
(note: if you’re more of a visual learner, check out my reel on Instagram here)
Step 1 – Gather your Privacy Panel Materials
For each panel you’ll need:
x3 – 2x2x8′ pressure treated lumber
x1 – roll of 1″ chicken wire (a 50 foot roll will do six 8 foot panels)
x1 – pack of faux vines (I love these ones!)
x1 – exterior black spray paint (or regular latex paint)
x1 – 2x6x8′ pressure treated lumber (you’ll have lots left over. You can also just use scraps of 2×6 if you have them handy)
x12 – 2.5 inch deck construction screws
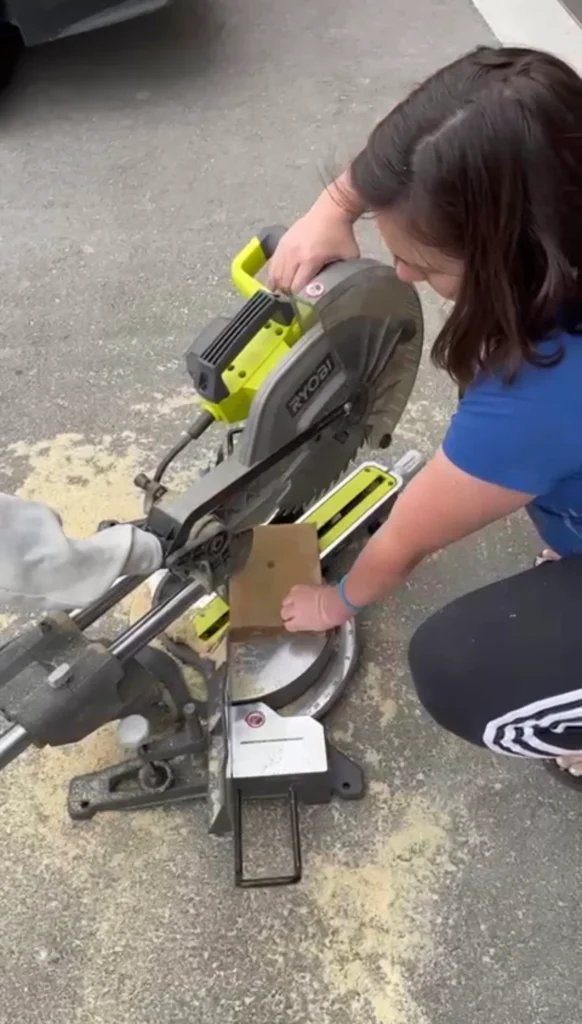
Step 2 – Make your cuts
Measure the distance from the centre of each fence post to the next one. Use this measurement to cut 2 of your pressure treated 2x2s. Then, cut the other 2×2 into two 21 inch pieces (you’ll have some left over).
Next take your 2×6 pressure treated lumber. Set your mitre saw to cut at 45 degrees. Place your 2×6 on the saw and line up the bottom edge corner with the cut line and make your cut. Next you’ll have to set your saw back to zero degrees and cut off the angle you just created. Now you have 2 of your 4 corner pieces. Repeat once more for the other two corners.
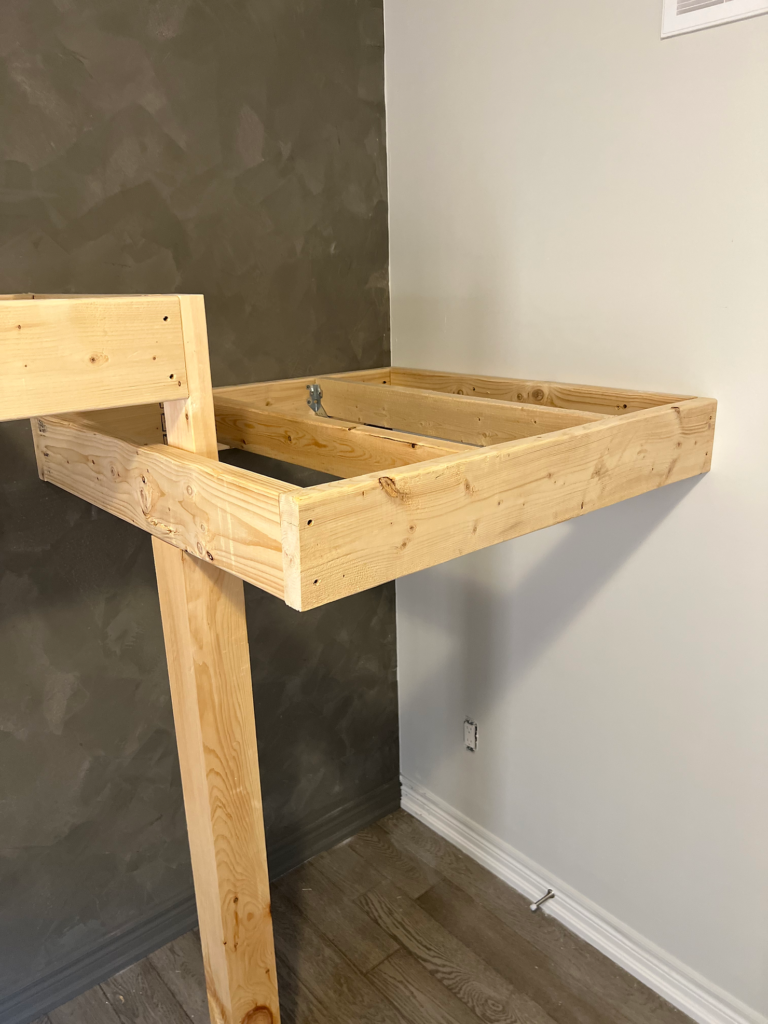
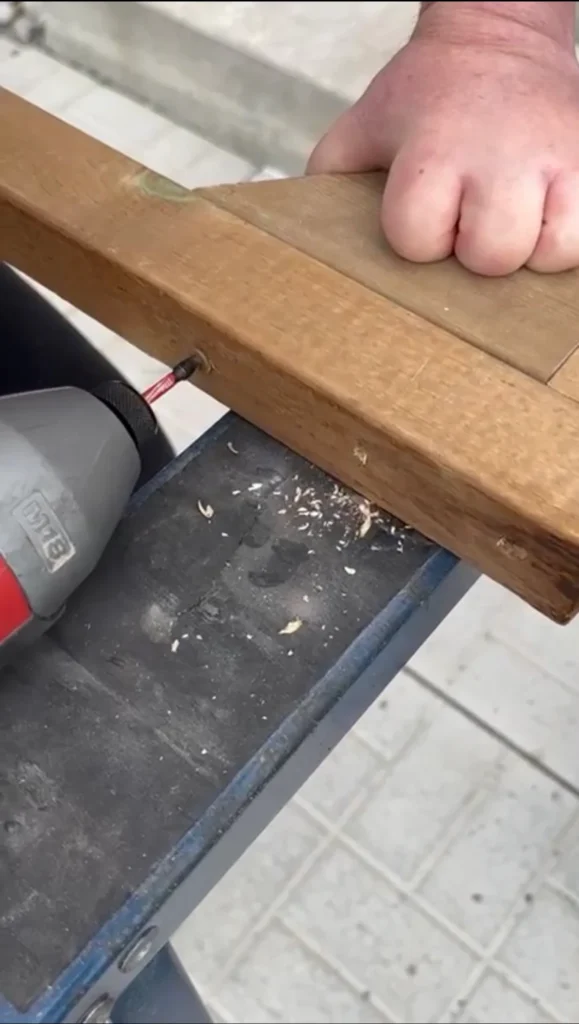
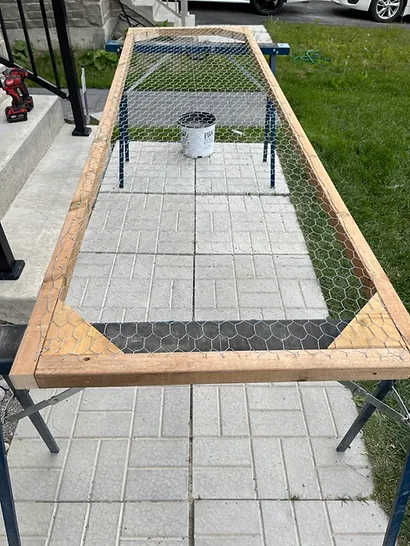
Step 3 – Create your Privacy Panel frame
Attach all 4 2×2 cuts in a rectangle. Start by pre-drilling your holes using a drill bit slightly smaller than your screws (this will help prevent the wood from splitting when you put the screw in), then attach using your deck construction screws.

Once your rectangle is built, install your 2×6 corner pieces. Following the same steps, pre-drill your holes then attach the wood using the deck construction screws. One screw on each side of the corner piece is sufficient (so 2 screws per corner, 8 total).
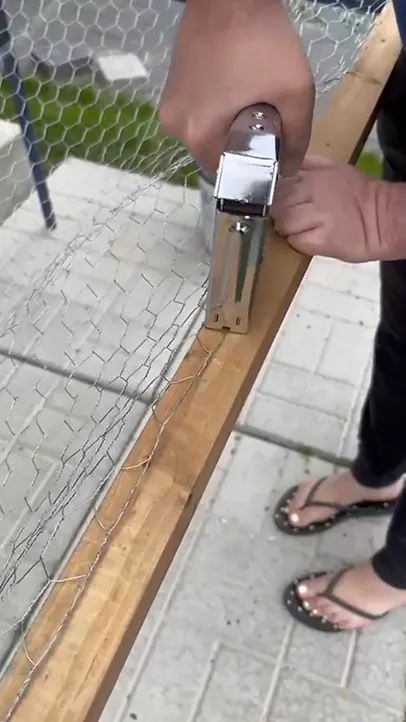
Step 4 – Attach the chicken wire to your Privacy Panel frame
Using a staple gun, attach the chicken wire to the back of your privacy panel frame. I staple in down and every 4-6 inches. The chicken wire sometimes looks like it won’t reach across the width of the Privacy Panel frame, but just give it a little tug and it will stretch slightly.
Step 5 – Paint it!
I am partial to black paint because I think it looks great on everything! But take this opportunity to customize the panel and paint it any colour you choose. I suggest using this spray paint, since I know it lasts in the elements outdoors and doesn’t fade or chip at all. Spray the entire Privacy Panel Frame. If painting black, spray the chicken wire as well. If choosing another colour, for example red, I would leave the chicken wire as is, since it’s not supposed to be a focal point of the Privacy Panel.
Step 6 – Install your faux greenery vines
This part took some trial and error, but I discovered quickly that the less patterned I installed it, the more natural and better it looked. To start off a vine I string it through one of the chicken wire holes and tie it in a knot. Once that is done, just continue to weave it in and out of the chicken wire, making sure to fill in any empty spots as you go. Hot tip: don’t neglect the edges and corners! I tried not to weave through any less than halfway down the width in order to keep the vines intact as well as to give it a more lush look.

Step 7 – Install on your fence
There are so many ways to use these diy privacy panels. If you choose to hang them on your fence, you’ll want to start with pre-drilling the holes through the privacy panel frame and into your fence post. Then you can attach them with your deck construction screws. We use 3 screws per side of the privacy panels.
I hope you have fun with this diy! Make sure to send me photos of your completed diy privacy panels!!
Until next time,
Oli