
**This blog contains affiliate links of things I own and love. If you shop through my link I receive a very small commission at no additional cost to you, which helps me continue to create content for you!**
I’ll be honest, I’m a sucker for a trendy craft. When I saw those paper bows taking over TikTok and Instagram, I knew I had to give them a try. But here’s the thing – I wanted to make them functional too, not just pretty to look at.
So I came up with this idea to turn them into Valentine’s cards by writing messages on the back of each bow loop. When someone turns the bow over, they discover your sweet note hidden on the back. It’s like a little paper fortune meets a greeting card, and honestly? I think it’s such a fun twist on the traditional Valentine’s Day card.
Plus, let’s talk about the cost savings. I grabbed a pack of craft paper from the dollar store, which means each card costs pennies to make. Way better than spending $5+ per card at the store!
Check out my full step-by-step tutorial on Instagram to see how I make these trendy paper bow cards from start to finish!
what you’ll need
One of the best things about this project is how simple the supply list is. You probably have most of this stuff already, but if not I’ve linked some of my faves here:
- cardstock paper in your favourite Valentine’s colours (like this)
- hot glue gun
- craft scissors
- markers or pens
step-by-step: how to make paper bow valentine’s cards
Enough jibber jabber. Let’s get to the instructions:
step 1 – cut your craft into a square
This is easy to do by folding it into a triangle, then cutting off the excess rectangle.


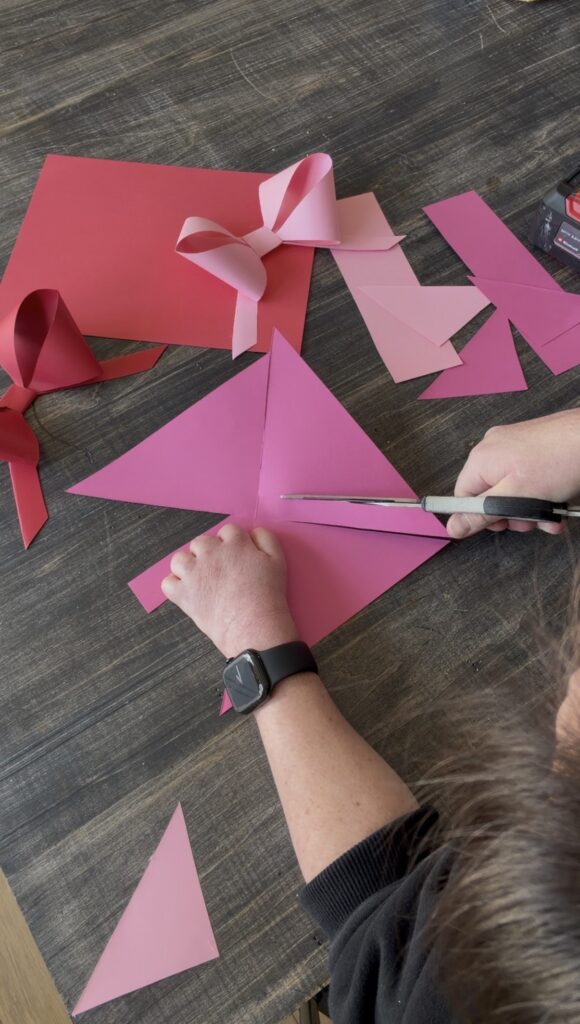
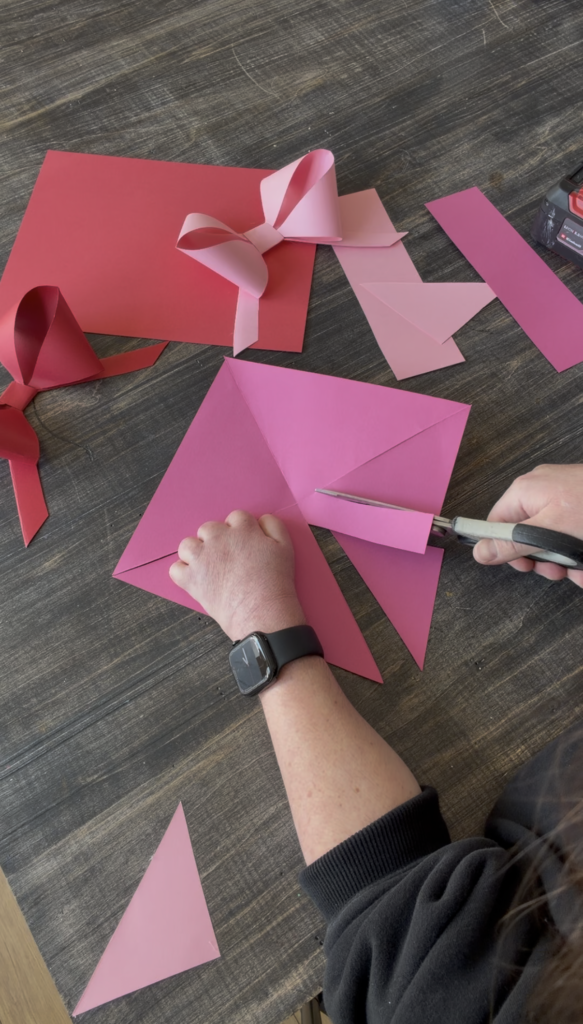
step 2 – fold the square diagonally in the opposite direction, then cut along the creases, stopping about 1 inch before the centre.


step 3 – cut straight lines up on one side to where the initial cuts stopped, then on the opposite side cut a 1 inch strip diagonally parallel to the creases.

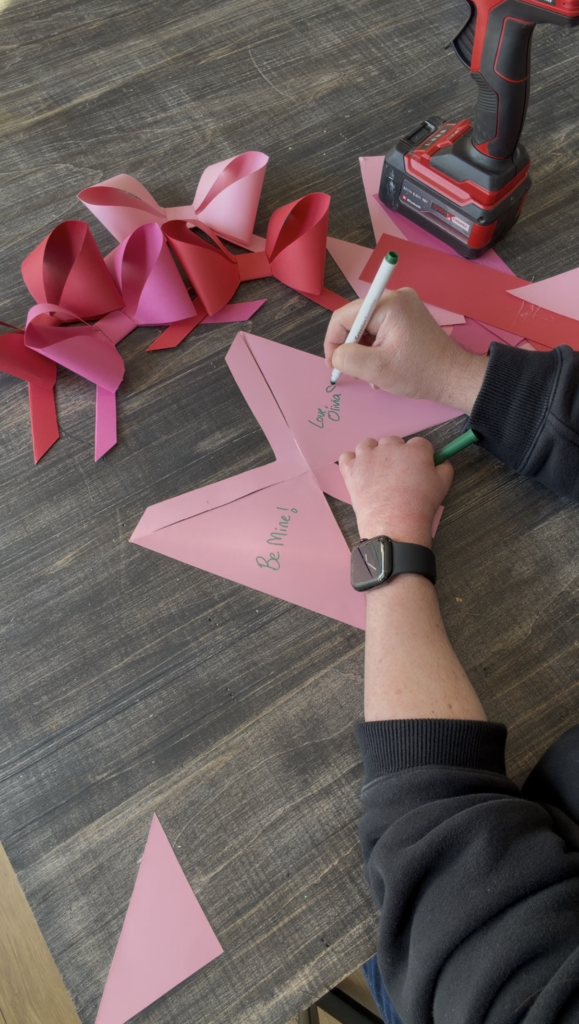
step 4- with the “tail” pointing down, write your messages in the centre of the two large triangle sides. This is what makes these paper bow cards so special and different from anything else you’ll see out there.
Some message ideas:
Cute & Sweet:
- “You’re bow-tiful!”
- “I bow down to your awesomeness”
- “Take a bow, you stole my heart”
- “You bow me away!”
Playful:
- “Let’s take a bow together”
- “You’ve bow-sted my mood”
- “You deserve a standing bow-vation”
Feel free to get creative! You can write one continuous message across both triangles, or write different compliments or reasons why you love the recipient on each side. You can also hide sweet messages on the other side of the triangles that the recipient will need to unfold to find.
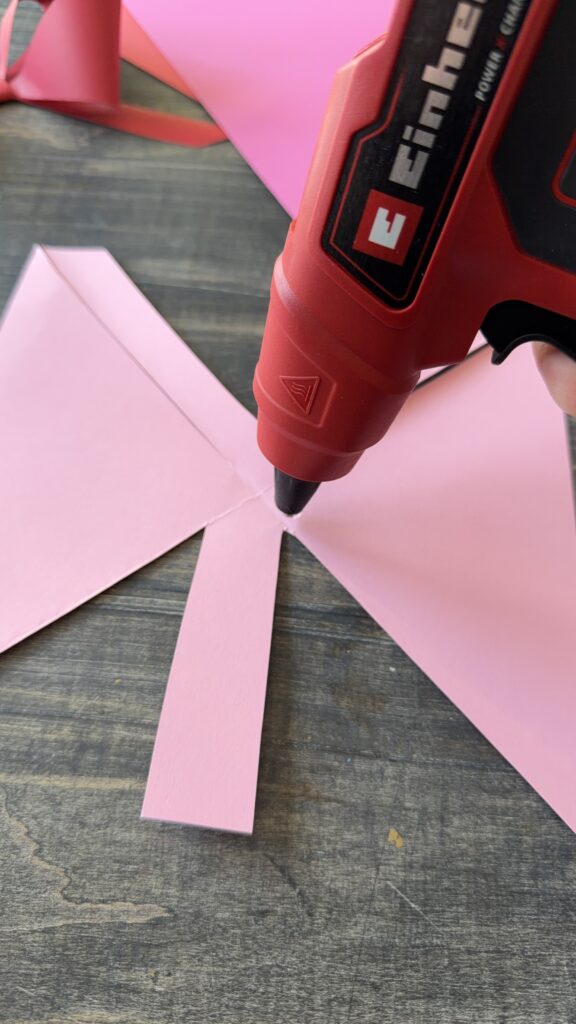
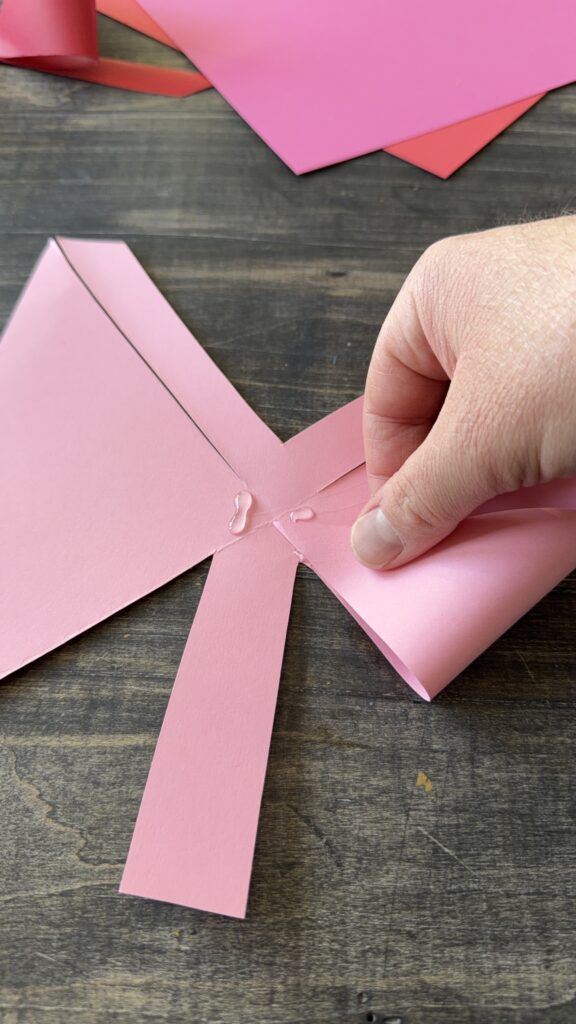
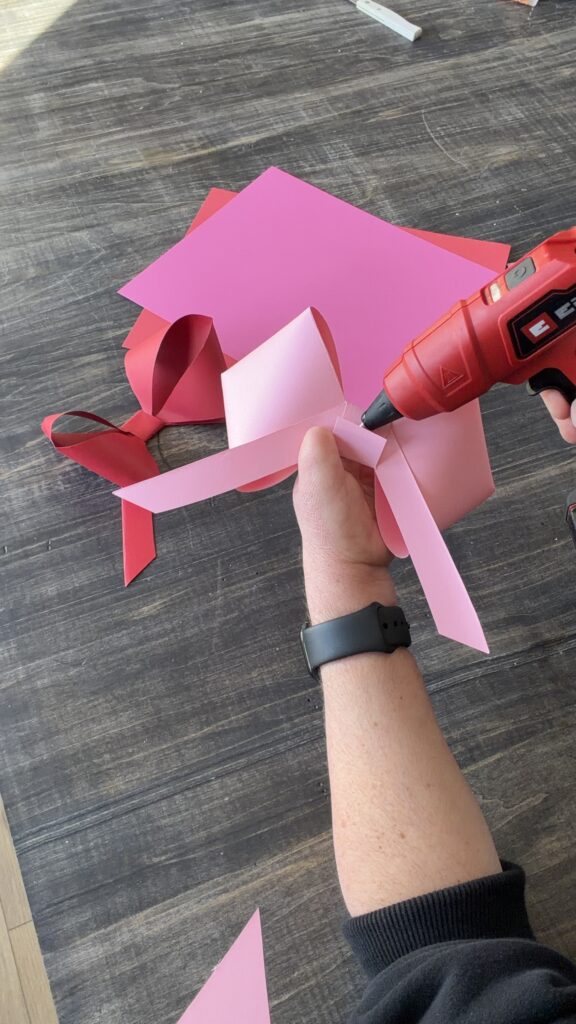
step 5- flip it back over and place a dot of hot glue at the inside corner of each large triangle side then fold the outside corners in an glue in place.

step 6- fold the V that you cut out down across the side that you wrote on, then fold the “tail” up over the V, looping it around the other side and back around the back.


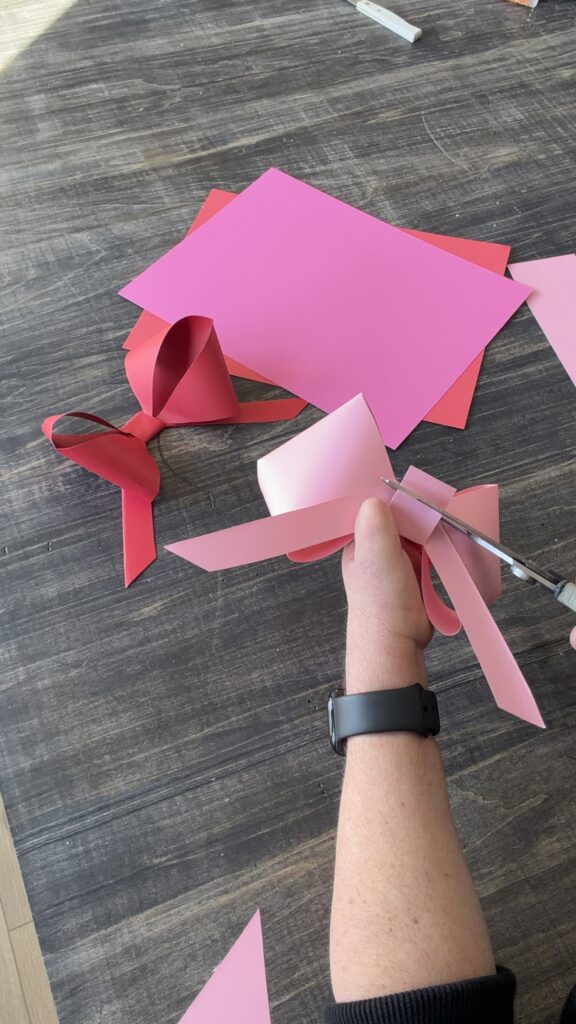
step 7- cut off any excess and glue the tail in place.
step 8- decorate as you please. I found it super cute to add a simple heart in an alternate colour cardstock to the centre of the knot.


Your paper bow Valentine’s card is complete! Here are some ideas for presenting your handmade creation that go above and beyond just handing it out:
– Attach it to a wrapped gift as a bow-and-card combo
– Glue a magnet on the back to make it a refrigerator keepsake
– Add a ribbon loop to hang it as an ornament
– Mount it on a cardstock base to create a traditional card format
– Place it in a small gift box or envelope
Practice makes perfect: Your first bow might not be flawless, and that’s okay! The handmade charm is part of what makes these so special.
Look, I get it. It’s way easier to just grab a card at the store. But there’s something about handmade Valentine’s cards that just hits different. When you take the time to create something unique, it shows.
These paper bow cards combine:
– The trendy aesthetic everyone loves from social media
– Personal, heartfelt messages hidden inside
– Sustainable, eco-friendly materials
– Budget-friendly crafting (most supplies are free!)
– A keepsake they’ll treasure long after Valentine’s Day
And honestly? They’re just fun to make. Put on some music, grab your supplies, and get creative.
I hope you love making these paper bow Valentine’s cards as much as I do! They’re such a fun twist on traditional Valentine’s Day crafts, and the hidden messages make them extra special.
If you try this DIY, I’d love to see your creations! Tag me on Instagram or send me photos. And don’t forget to check out my Instagram reel for the full video tutorial.
Until next time,
Oli